How to Save Tomato Seeds? 3 Simple Methods
It’s easy to save seeds from your favorite tomatoes, and you might spend less money on seeds the following year. To grow tomatoes again the following year, learn how to save the seeds of your favorite tomato varieties.
The best tomatoes for seed saving are fully ripe and disease-free. While it is possible to save seeds casually by squeezing them onto a paper towel and letting them air dry, fermentation is preferable.
Fermentation eliminates the gelatinous sheath and germination inhibitors from seeds, and it may also be used to treat some diseases that are transmitted through seeds. Tomato seeds that are properly stored could last more than six years.
Fermenting to Save Tomato Seeds
Frequently, a tomato contains 100 or more seeds. You can get enough seeds for you and some of your neighbors if you put in the time to save the seeds from your favorite fruit. You can anticipate your collected seeds to produce robust tomato plants for several years after the seeds are initially harvested if you save them properly and follow this straightforward, step-by-step plan.
Fermentation is a step in tomato seed saving. Antibiotics that aid in the prevention of diseases spread by seeds are produced during the fermentation process, which prepares tomato seeds for storage.
Additionally, fermentation encourages the development of a seed coat that will shield the seeds from germination until they are planted. You must complete the fermentation process because it is essential to saving tomato seeds.
Step 1: Choose a Perfect Tomato
The best seeds will come from the best fruit. Choose a tomato that is large, spotless, and has an appealing shape and color. Let tomatoes fully ripen on the vine.

Step 2: Wash and Cut
The best tomato seeds will be provided to you in large part through good hygiene. Let the tomato air dry after giving it a thorough wash. Cut the fruit in half down the middle.
Step 3: Remove the Seeds
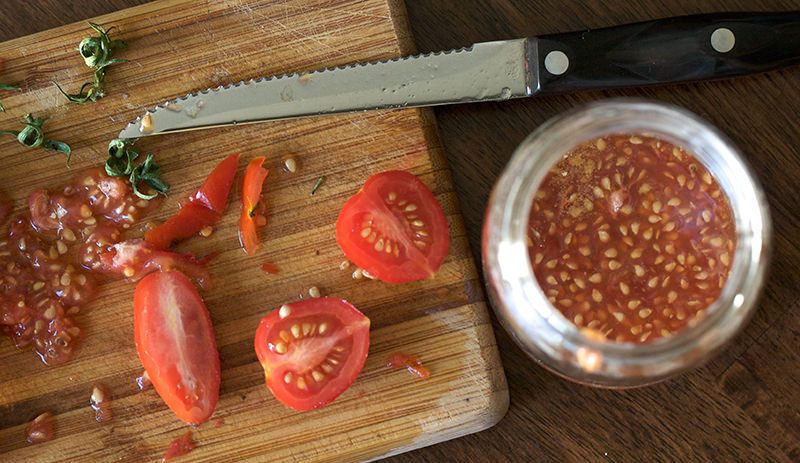
Scoop the seeds out of the tomato cavities and into a small jar using a small spoon or your fingers. A jelly-like substance will be applied to the seeds. The jar will probably contain liquid and pulp as well. The seed-pulp mixture is ideal for fermentation.
Step 4: Cover the Jar and Ferment
Rubber-banded paper towels or coffee filters can be used to cover the jar containing the seed-pulp mixture. Label the jar if you’re storing more than one kind of tomato seed. Three days should be spent with the jar in a warm place, ideally between 60 and 70 degrees Fahrenheit.
Step 5: Stir Mixture Once a Day
Once per day, gently stir the mixture to start removing the jelly-like substance from the tomato seeds. After a couple of days, don’t be shocked if a white fungus starts to grow on top of the mixture. The jelly will be consumed by this beneficial fungus, preparing the seeds for storage.
Step 6: Separate the Seeds from the Pulp
After three days, add warm water to the jar and wait for the seeds to sink to the bottom. Pour out the water gently, along with the tomato pulp and any floating seeds. Being heavy, the viable seeds will eventually sink to the bottom of the jar. Until the water that is discarded is nearly clear, keep filling the jar with warm water, letting the seeds settle, and then pouring out the water and debris.
Step 7: Dry Seeds
Pour the seeds into a strainer and let the water drip out. Spread the seeds out on a newspaper or paper plate next. In a well-ventilated area, let seeds dry for a few days at room temperature. To separate the seeds and encourage even drying, gently stir them every day with your fingers.
Step 8: Store in a Cool, Dry Place
In a bag or container with a label, put dry seeds. Cool, dry, and dark environments make for the best storage locations. Seeds don’t need to be refrigerated; a cabinet is ideal.
Simple Drying to Save Tomato Seeds

One to two years may be the maximum storage time for tomato seeds that haven’t been soaked or fermented, but for gardeners who just want to store seeds from one year to the next, that’s more than enough time.
Large tomato seeds can be extracted from the gel using the tip of a knife, dried on a paper plate, or arranged on tiny pieces of toilet paper, paper towel, or coffee filter to create seed discs or tapes.
Two or three seeds are best placed on each of the coffee filter rounds I cut to fit my seed-starting trays. These “seed discs” can be planted whole, or cut into smaller pieces.
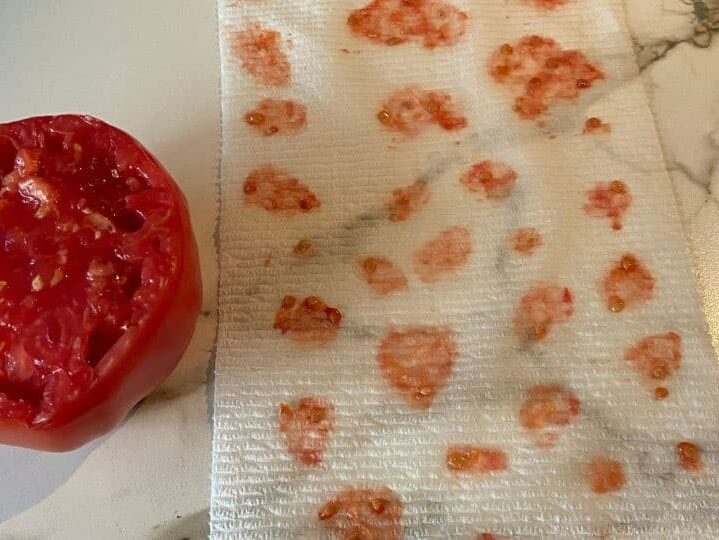
Some gardeners merely squeeze tomato seeds onto a paper towel, spread them out slightly, and let the towel dry for a few weeks. The seed-bearing towel can be folded up and placed into a labeled envelope once it has dried out to store for the winter.
Planned Burial to Save Tomato Seeds

The fact that tomato seeds can be saved in the garden is clearly demonstrated by the weed-like emergence of volunteer tomato seedlings. By the end of the summer, I have decided where I will plant tomatoes the following spring, always in a location where they have not been grown for at least three years.
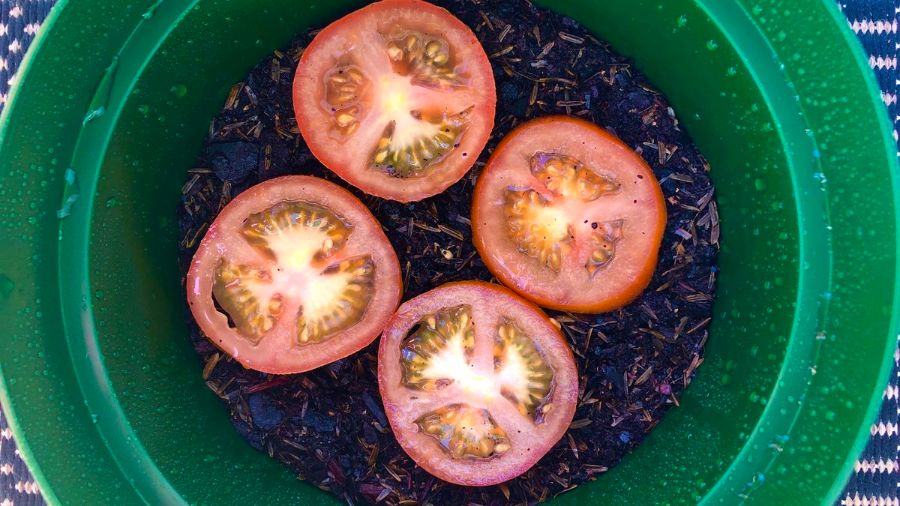
I bury cut tomatoes or tomato gel there as empty space in the future tomato row, covering it with two inches (5 cm) of soil and an equal amount of biodegradable mulch, to use as a seed reservoir.
When buried deeply, the seeds won’t sprout, though many do make it through the winter. In order to warm up the soil in the spring, I remove the mulch, gently stir the designated area with my hand, and then cover it with a cloche. Tomato seedlings appear as if by magic.


